
You spend weeks planning an event, and then the banner looks blurry when it is finally hung in the hall. Maybe the colors look dull, the sign falls over in the wind, or the order arrives a day late. When your brand appears in person, guests notice these small problems quickly, and they can make the whole event look less professional.
Most of these issues can be avoided when you treat large format printing as a project with clear steps, from setting your first goal to getting everything ready on setup day. That is the approach NextPage uses when helping event teams and brands turn big ideas into graphics that look sharp and work well in real spaces.
This article explains NextPage’s steps for using large format printing at events and brand activations, so you know what to plan, prepare, and schedule.
1. Plan Large Format Graphics Around Your Event Goals and Audience Flow
Start by asking what you want your event to achieve. A product launch, a trade show booth, and a community fair all need different types of graphics, so your main goal should guide every choice you make afterward.
Next, think about how guests will move through the space. Follow their path from the entrance, and identify the places where people stop, wait in line, or gather, because these spots give your graphics the most attention.
With large format printing services from NextPage, you can turn this plan into banners, signs, and displays that fit each location. If you share your goals and floor plan early, the team can recommend sizes and styles that keep your message easy to see from a distance.
2. Choose Banners, Backdrops, and Floor Graphics for Key Event Spaces
Once you know where guests will gather, you can choose the right graphic for each space. Large banners work well at entrances because they let people know they have arrived, while backdrops and step-and-repeat walls work well in photo areas, where guests like to stop and take pictures.
Inside the venue, floor graphics can guide people toward check-in desks, product tables, or exits. Trade show booths often use retractable banners and tabletop displays because both are easy to carry and quick to set up.
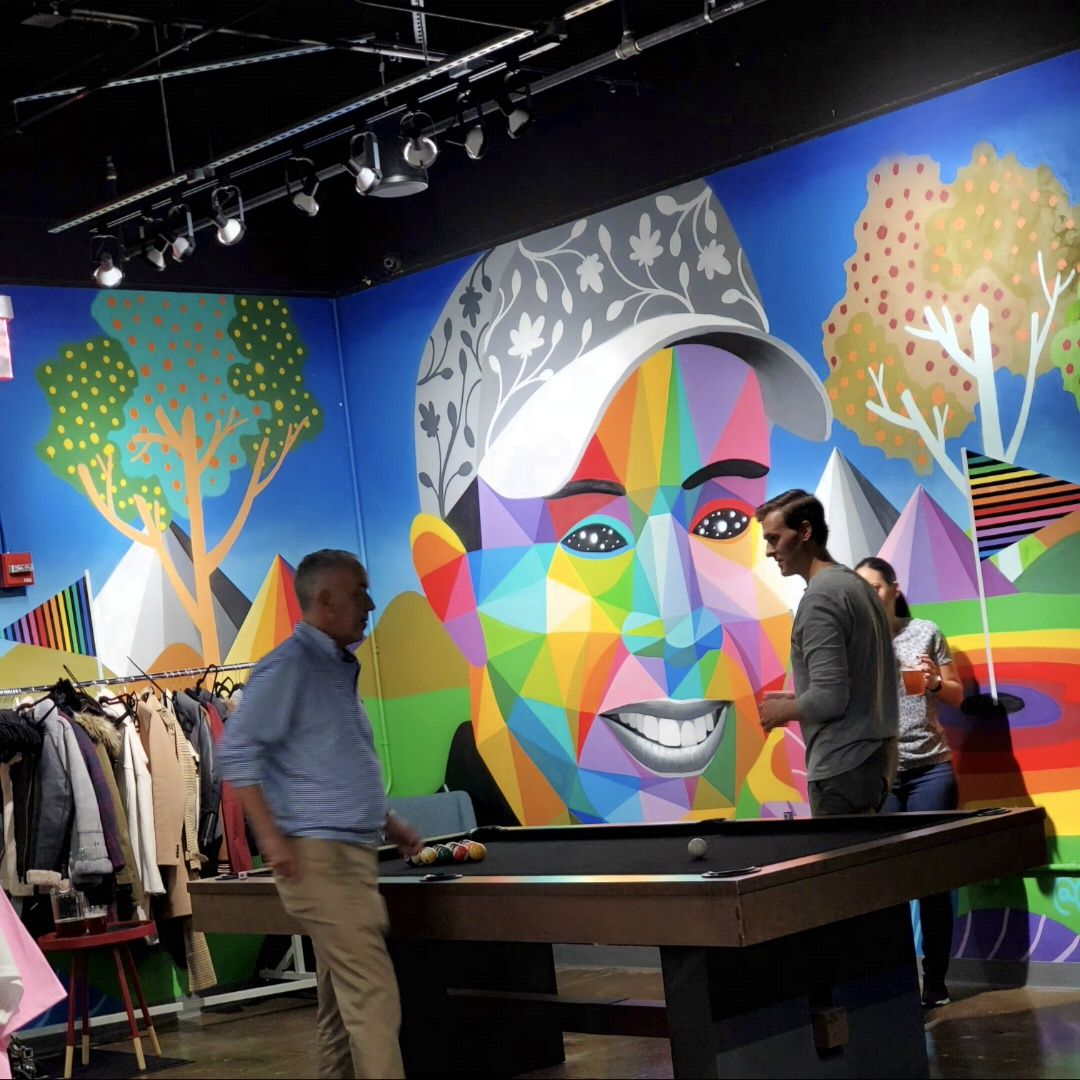
If your event takes place in a building with large windows or empty walls, window graphics and wall murals can help carry the same brand look. Using the same colors, fonts, and images throughout the space helps guests remember your brand as they move from one area to another.
3. Select Materials Built for Your Venue and Event Duration
The material you choose affects how your graphics look, how long they last, and how easy they are to move. Indoor events give you many options, but outdoor events need materials that can handle sunlight, wind, and rain.
NextPage prints on several materials, and each one works for a different purpose. Use this list to match them to your event:
- Vinyl is strong and weather-resistant, so it works well for outdoor banners and decals.
- Fabric has a soft look, which gives indoor backdrops a smooth finish.
- Mesh allows wind to pass through, helping large outdoor banners stay in place.
- Board is stiff and flat, making it useful for signs that need to stand upright.
- Perforated film allows light to pass through, making it a good choice for window displays.
4. Prepare Artwork with the Right Resolution, Bleed, and Color Mode
Good printing results begin with artwork that is ready for production. For large format work, files should be saved at 100 to 150 DPI at the full printed size because guests usually view these graphics from a distance.
Color mode is important too. CMYK is the better choice because RGB files are changed during printing, which can cause the colors in your logo to look different. You should also leave at least half an inch of bleed around every edge, and turn your fonts into outlines or embed them so your text stays the way you designed it.
The correct resolution can depend on how far away people will view the graphic, so it is helpful to confirm the number with NextPage before sending your files. This simple check gives your graphics a better chance of printing correctly the first time.
5. Add Finishing Options for Easy Installation and Takedown
Finishing helps make a graphic ready to hang, stand, or transport. Grommets are small metal rings that let you attach a banner to a fence or frame, while hemmed edges make the borders stronger. Pole pockets let you slide a banner onto a rod for quick and easy display.
Surface finishes can help too, especially for graphics that people touch or walk on. Gloss lamination makes colors look brighter and shinier, matte lamination reduces glare under strong lights, and an anti-scratch coating helps protect against wear. Mounting a print onto a board keeps a sign flat and upright.
If your event moves from city to city, choose finishes that make takedown simple because your graphics will be folded, rolled, and packed again and again. A little planning at this stage helps keep them looking fresh at every stop.
6. Schedule Production and Installation Well Ahead of Event Dates
Large format projects need time because design review, printing, finishing, and delivery happen one after another. If you work backward from your event date, you can see when artwork, approvals, and shipping need to be completed.
Installation should also be part of the schedule. Large jobs, such as building graphics and multi-panel displays, go more smoothly when mounting hardware, templates, or on-site support are ready before setup day. NextPage offers all three, and it supports more than 100 major events each year with a 99% on-time delivery rate.
When you share your event date, quantities, and venue details early, the team can create a timeline that fits your needs. With a clear plan ready, you can spend event week focusing on your guests instead of worrying about deadlines.
The Bottom Line
The best event graphics make guests feel something as soon as they walk in. When your visuals are chosen carefully, people notice your message sooner and remember your brand long after the last guest has left.
Strong results usually come from treating every graphic as part of one story instead of seeing each sign as a separate piece. That is the idea behind NextPage’s work, where every banner, floor graphic, and display supports the same message from the entrance to the exit.