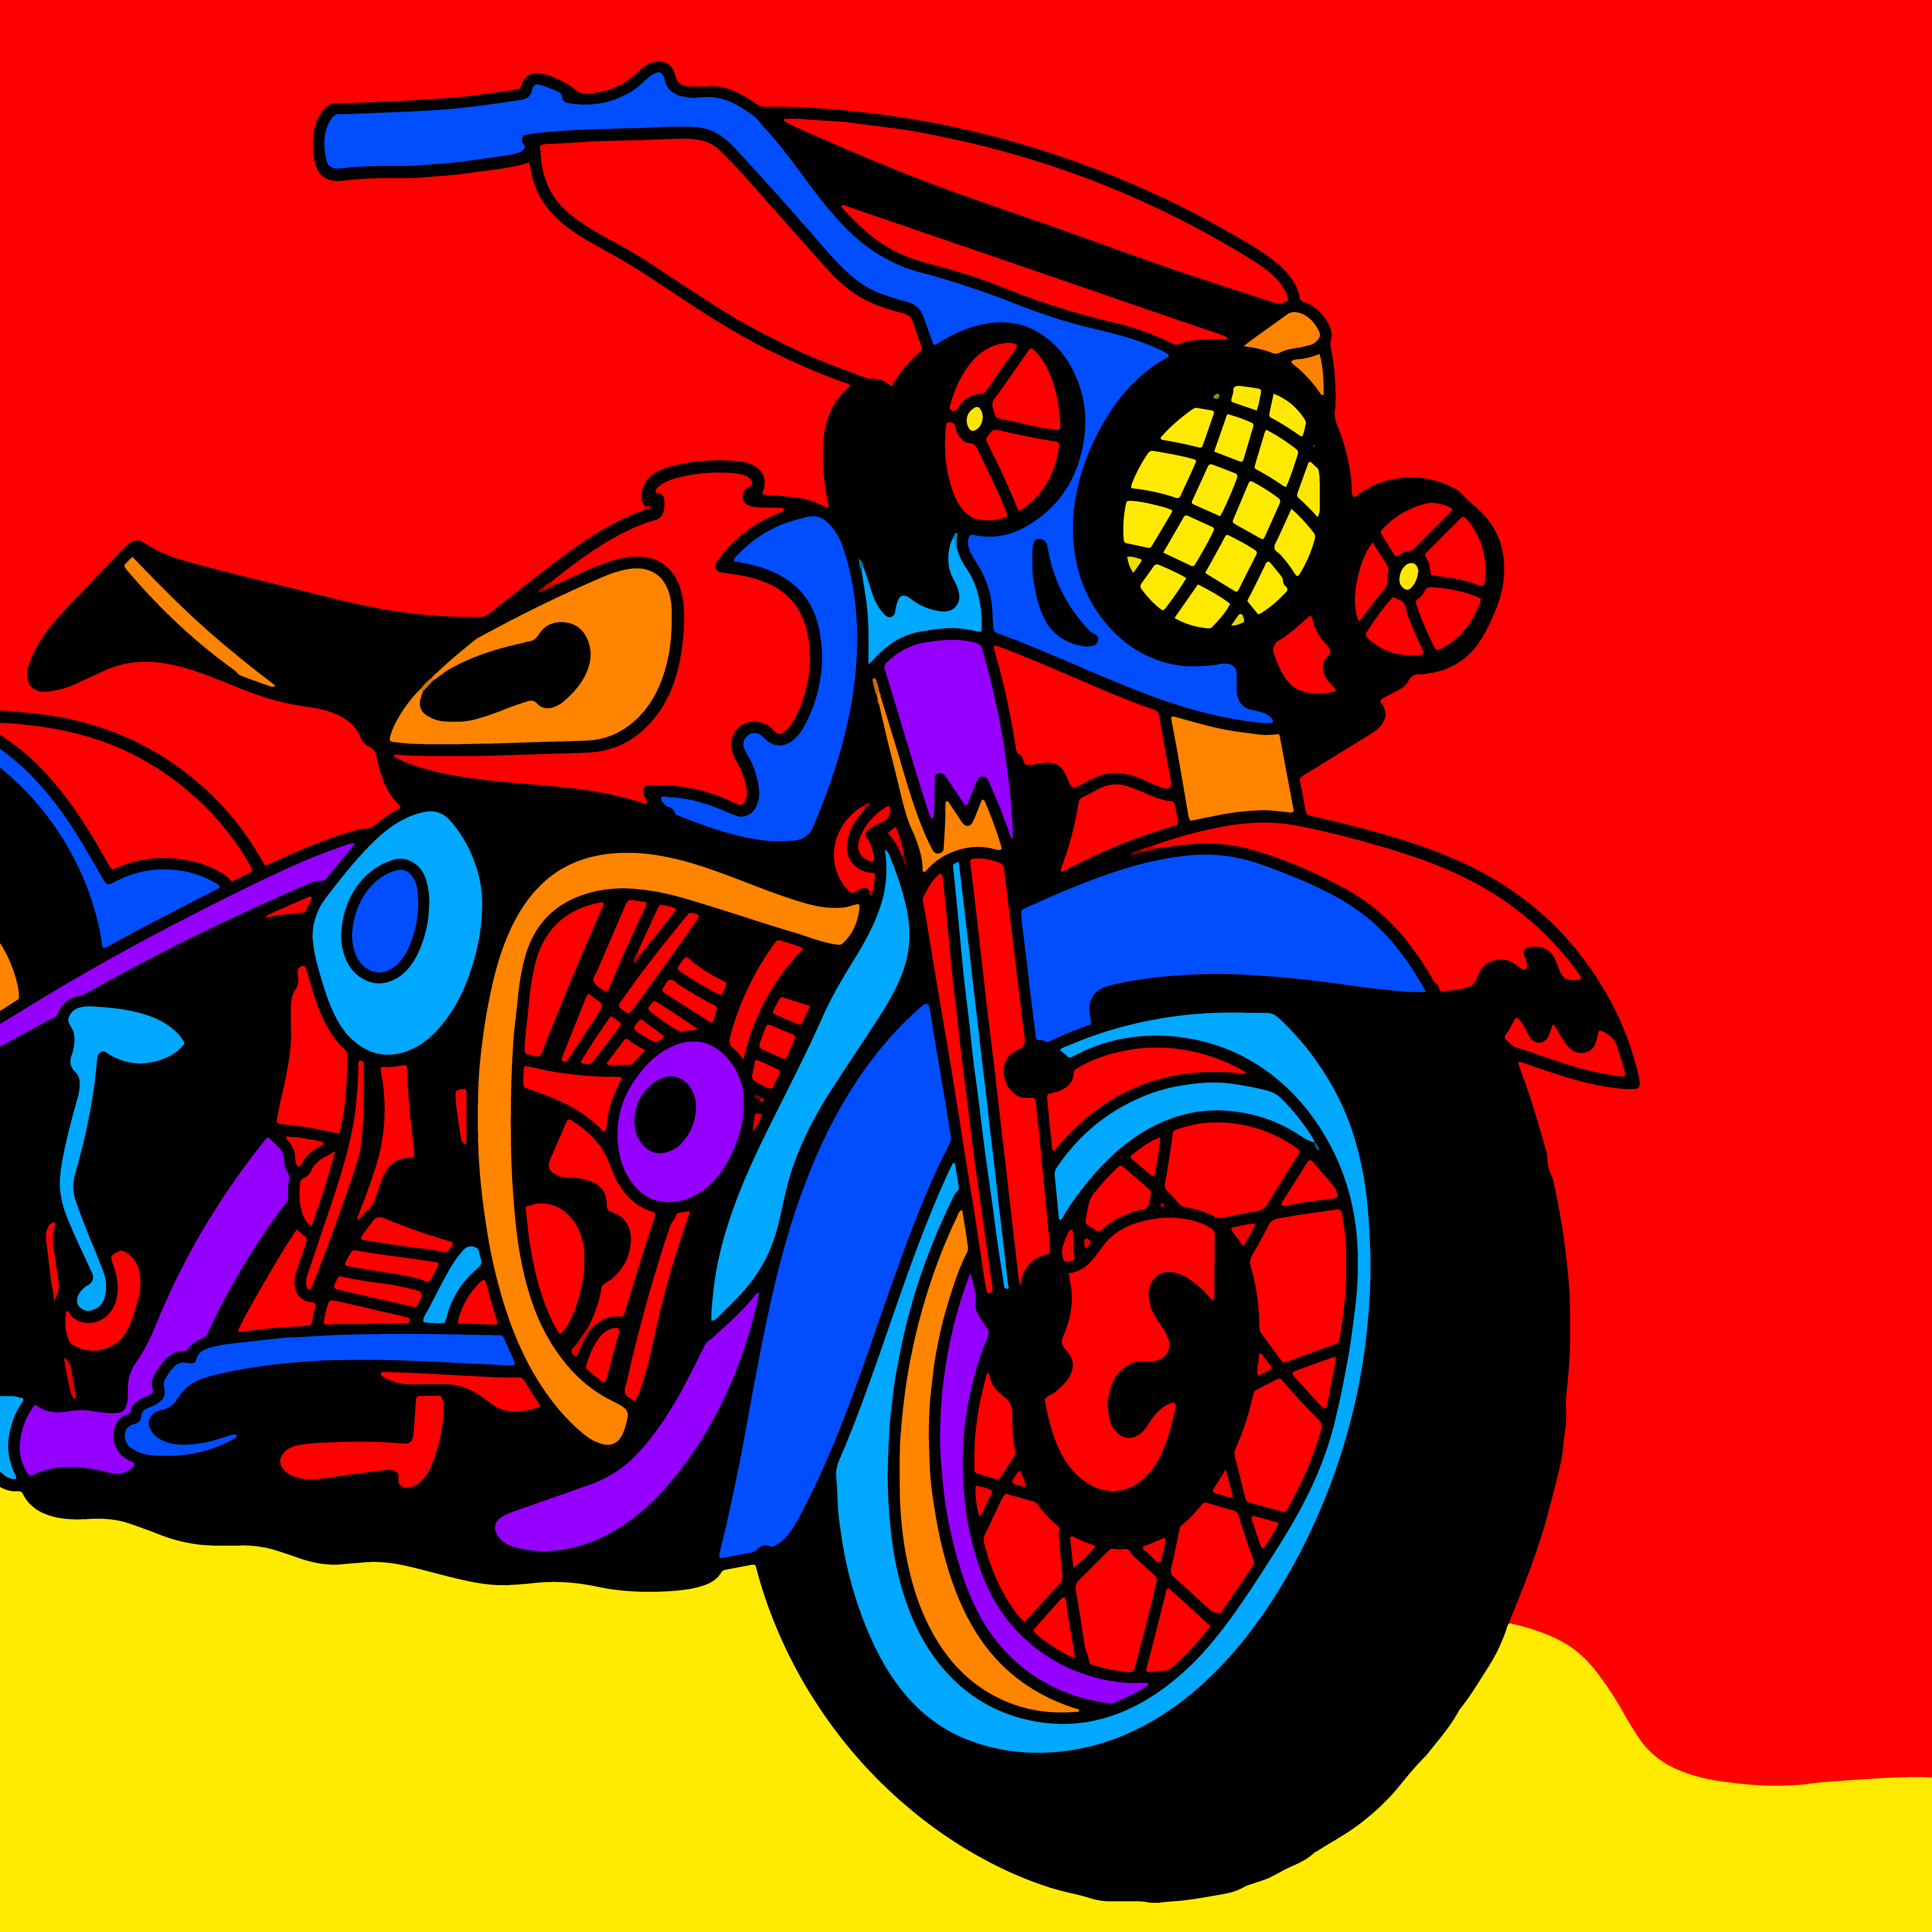
It can be easy to get bored with the graphics on dirt bikes, and it is always fun to look for new and exciting ones. Graphics may not make a ride faster, but they can help represent a sponsor and keep a bike looking clean and new. There are endless configurations and designs that will help personalize and upgrade a bike. Let’s take a deep dive into the world of dirt bike graphics and where to find quality graphics kits.
Quality Graphics Kits
There are kits available to make custom logos, text styles, colors, layouts, and finishes. Graphics kits range in price, depending on the quality. It is even possible to create a personalized kit, for the most customized biking experience. These kits have graphics for covering the rear fender, lower fender, radiator covers, lower fork, rear swing arm, and number plates. To find exactly what is wanted, or even just to know where to start, get help at Senge Graphics. Buying quality kits is important, since mud, water, and rain will rub on these decals each time the bike is used and cause them to wear. Graphics should be made to last, and they can be difficult to install.
Look around for the best quality and the best price. Full kits are the most complete and include graphics for most parts of the bike. A radiator shroud kit will include the radiator shroud graphic and often the air box decals. Front and rear fender decals are included in a trim kit. Even blank number plate backgrounds and pre-printed number plate backgrounds help make a bike stand out from the rest. The graphics kit should be made of quality material. Make sure the graphics are 16-20 mils thick. Lower quality plastic is available and cheaper, but it probably won’t last as long. It is also important to look for a trusted adhesive brand, such as 3M. UV protective coating is another sign of a quality product.
Installation Instructions
Once that perfect, high-quality graphics kit is found, make sure to prepare the plastic on the bike. Remove old stickers and clean the bike with rubbing alcohol or another adhesive removing cleaner. With a new bike, be sure to wipe the bike off to ensure no manufacturer oil residue is left. Make sure the bike is well prepared to get the longest life out of the graphics.
Special Tips
Get better results when installing graphics using these tips.
- Don’t install graphics in a cold or damp area.
- Clean the bike before installing.
- Remove existing decals before applying new graphics.
- Pay special attention to the edges of the graphics.
More Upgrades
There are lots of other ways to upgrade a bike. Riding can be smoother with a new suspension, including shocks, linkage, and fork seals. Upgrading the exhaust system can boost the speed, sound, and look of a bike. Changing the sprocket or chain can upgrade a bike and give more speed. Try replacing the factory clutch with a new clutch system. It’s sure to boost the bike’s performance. Because dirt bike controls change how bikes are operated, try changing the footpegs, handlebars, levers, or grips. If an old bike is looking a little old, slow, or beat up, why not try giving it an upgrade? Dirt bike graphics kits are easy to find, personalize and install on any dirt bike. A few of 360 Magazine‘s favorite dirt bike companies include Suzuki, Yamaha, Honda, KTM and Kawasaki.


